Herramientas asociadas a las tablas
Introducción
When a table has been loaded, either from the “Project manager” or from the view, the tools associated with the table will appear in the tool bar.

A new menu, called “Table”, will also be activated in the tool bar. This can also be used to access the different tools.

Cálculo de Estadísticas de un campo
You can access this option by clicking on the following button

or by going to the “Table” menu and then to “Statistics”.
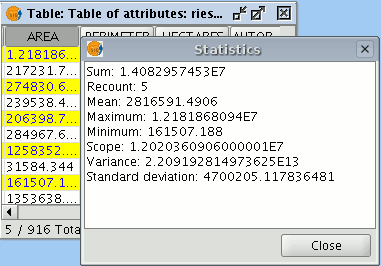
The “Statistics” tool allows you to obtain the most common statistical values.
N.B.: Remember that the tool will not be activated until you select a numerical field.
If you wish to obtain field statistics, select the field (left click on the field heading), then click on the “Statistics” tool.
You can only obtain statistics from a series of records, firstly, select the field the values are located in, then select the desired records, and click on the “Statistics” tool.
Realizar consultas, filtros en una tabla
You can access this tool by clicking on the “Filter” button in the tool bar

or by going to the “Table” menu and then to “Filter”. The “Filter” tool works in much the same way as in the “Views” section.
gvSIG allows selections to be made using filters. Selection using filters allows you to define exactly what you want to select, including several attributes, operators and calculations.
Requests can be made using logical operators, such as “equals” “more than” “different from”, etc.
If you press the “Filter” button in the tool bar, a dialogue window will appear to define your request.
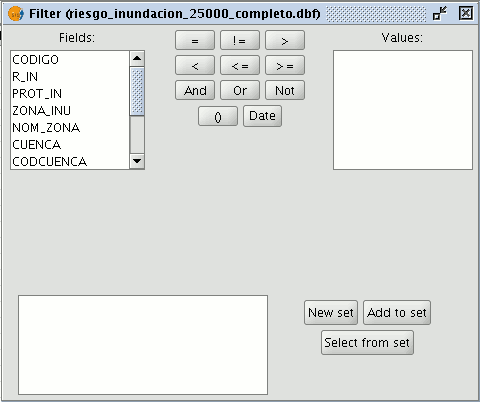
Fields: Double click on the field you wish to add to your request from the “Fields” list in the layer.
Logical operators: These allow you to insert a logical expression into your query by clicking on them.
Values: This shows a list with the different values the selected field has. If you wish to add a value to the request, double click on it.
Request: This is the window which represents the request to be made. You can write here directly.
Selection buttons: These buttons make the request using:
- “New set” (deletes any previous selections).
- “Add to set” (adds the elements selected by the query to the existing elements).
- “Select from set” (makes the request from the selected elements).
N.B.: In a gvSIG view, when you activate a layer by selecting it in the ToC, the filter tool will also be activated in the tool bar, even though no table has been loaded. This allows you to work with the table associated with the selected layer. The "Table" menu will also be added in the menu bar. This provides another way to access the filter tool when it drops down.
Ordenar un campo de forma ascendente
You can access this tool by clicking on the following tool bar button

or by going to the “Table” menu and then to “Ascending order”.
The “Ascending order” tool allows you to order the table records.
- It orders the values from the lowest to the highest in a numerical field.
- It orders the records in alphabetical order, starting from “A” in a text field.
Ordenar un campo de forma descendente
You can access this tool by clicking on the following tool bar button

or by going to the “Table” menu and then to “Descending order”. The “Descending order” tool allows you to order the table records. It orders the values from the highest to the lowest in a numerical field. It orders the records in alphabetical order, starting from “Z” in a text field.
Unir tablas
The “Join” tool allows two tables to be joined via a common field. You can also access this tool by clicking on the following button

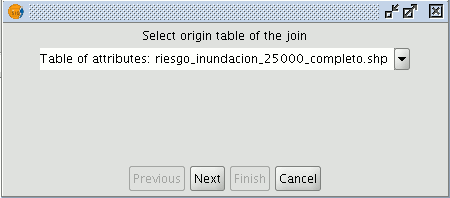
or by going to the “Table” menu and then to “Join”. To join the two tables, carry out the following steps: Firstly, specify the source table the join is to be made from.
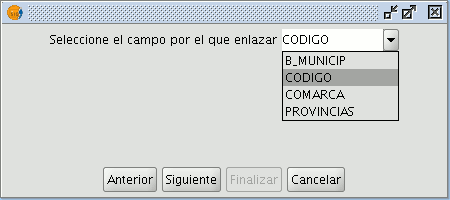
Then specify the field to be used for the join.
Then indicate the table you wish to join to the first one.
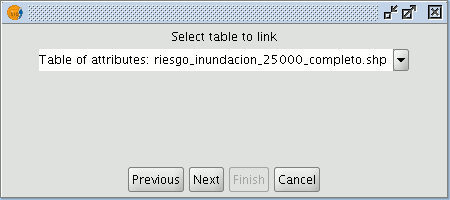
Finally, indicate the field in the second table which is common to the first one.
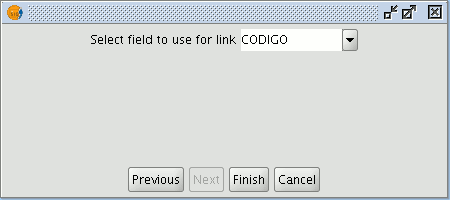
If you open the data source table, you will see that the fields of the destination table have been joined. The name of the field added to the table is identified by the word “Join_(Field name)”
Enlazar campos de una tabla
You can access this tool by clicking on the following button in the tool bar

or by going to the “Table” menu and then to “Link”. The “Link” tool allows two tables to be linked via a common field, so that any changes that take place in one table will also be shown in the other one.
Firstly, specify the source table the link is to be made from.

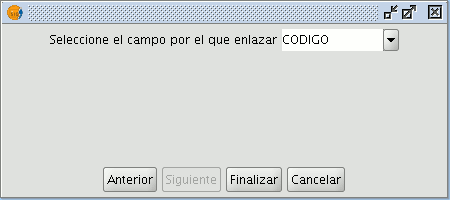
Then specify the field to be used for the link.

Then indicate the table you wish to link to the first one.

Finally, indicate the field in the second table which is common to the first one.
Llevar una selección de registros arriba de la tabla
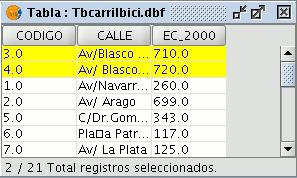
This tool allows the records selected in the table to be moved to the top of the table. You can access this tool by clicking on the following button in the tool bar

or by going to the “Table” menu and then to “Move selection to top”. The following table shows an example in which two records have been selected to move to the top of the table.
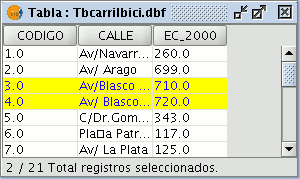
If you click on the button, the table will change the position of the selected records.
-----------------------------------
- Se ha producido un error "Unauthorized", probablemente la imagen no esta publicada. En el documento Introducción
- Se ha producido un error "Unauthorized", probablemente la imagen no esta publicada. En el documento Enlazar campos de una tabla